

DIY Creators Transform Thrifted Traffic Cones Into Statement Lighting
A fresh wave of creative home decor projects is gaining momentum on social media, and this time it involves an unconventional source: repurposed traffic cones. What started as a quirky upcycling trend has evolved into a practical opportunity for budget-conscious shoppers looking to add personality to their homes. The concept is straightforward, affordable, and produces a one-of-a-kind light fixture that rivals boutique pricing without the cost.
Content creators have discovered that standard traffic cones, when combined with basic lamp components, become stunning focal points in living spaces. The process requires minimal investment and no advanced technical skills, making it accessible to anyone interested in DIY home improvement projects. For shoppers tired of mass-produced lighting options, this trend offers a tangible alternative that reflects individual style and creativity.
What You’ll Need and What It Costs

The beauty of this project lies in its affordability. A thrifted traffic cone costs nothing if you find one at a local secondhand shop, though new cones from safety retailers typically run around fourteen dollars. Paint markers, available in budget-friendly sets for approximately ten dollars, let you add custom designs. Clear protective varnish costs roughly seven dollars, and a basic lamp base rounds out your shopping list at under twenty dollars. In total, you can create a professional-looking light fixture for thirty to forty dollars, compared to similar items at specialty home stores that might cost ten times as much.
The affordability factor has made this light fixture concept particularly appealing to renters and young professionals seeking decor that doesn’t strain their budgets. As lighting design trends shift toward sustainable and flexible options, upcycled projects like this one align with modern consumer values around waste reduction and intentional design choices.
Step by Step Process for Creating Your Custom Lamp
Begin by thoroughly cleaning your cone, whether it’s thrifted or new. Remove dirt, grime, stickers, and dust, then allow it to dry completely. Apply a protective coat of clear varnish as your base layer. This acts as both a primer and a protective barrier for the paint markers or spray paint you’ll use next.
Decorating is where you inject personality into the light fixture. Freehanding designs with paint markers works well, but stencils and spray paint offer an easier path to achieving graffiti-style aesthetics without artistic pressure. Geometric patterns, abstract shapes, lettering, or the classic rainbow stripe design all photograph beautifully. Once your design is complete, seal everything with a final coat of varnish to prevent chipping and smudging.
The final assembly involves setting your decorated cone onto the lamp base, installing a bulb, and checking stability before plugging in. If your electrical cord prevents the unit from sitting flat, use a small box cutter to create a discrete cutout in the base’s bottom edge, allowing the cord to pass through.
Critical Safety Considerations Every Shopper Should Know
Traffic cones are typically made from flexible PVC plastic, which presents important safety concerns when paired with a light fixture. PVC can soften, warp, and emit harmful fumes under heat exposure. Additionally, protective varnish and paint finishes deteriorate when exposed to sustained warmth. This means using a low-heat light source is absolutely essential, not optional.
LED bulbs in the 40 or 60 watt equivalent range are your safest choice for this application. Modern light fixture innovations increasingly prioritize LED technology for both safety and energy efficiency, and this project is no exception. During the first week of use, check your cone every ten to thirty minutes to ensure it stays cool to the touch. If you notice any warmth, switch to an even lower wattage bulb immediately.
Never attempt this project with incandescent or halogen bulbs, which generate considerably more heat. The risk of plastic warping or failure simply isn’t worth the cost savings.
Customization Ideas to Make Your Light Fixture Truly Unique
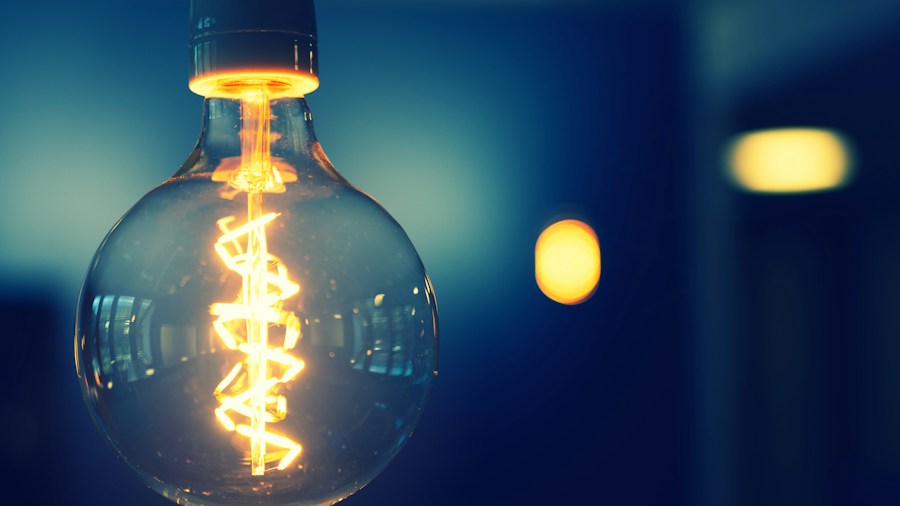
Once you’ve locked in a safe electrical setup, the creative possibilities expand significantly. Consider swapping out your standard white bulb for a color-changing LED that syncs to music, or experiment with neon pink or other mood-setting colors. Some creators drill or punch holes into the cone’s surface to create a starry effect when the light is on, effectively transforming the entire room’s ambiance.
Design approaches are equally flexible. Painter’s tape can create perfectly straight multi-colored stripes when used with spray paint. You might preserve the cone’s signature orange color as a design element, using it as a backdrop for geometric or abstract patterns. Just as strategic light fixture choices can completely transform a room’s aesthetic, thoughtful cone decoration allows you to match existing decor or serve as a bold statement piece.
What This Trend Means for Home Decor Shoppers
This traffic cone light fixture trend highlights a broader shift in how consumers approach home decoration. Rather than viewing lighting as a fixed, expensive component of interior design, shoppers increasingly see it as an opportunity for creative expression and budget-friendly customization. The project proves that distinctive, gallery-quality decor doesn’t require premium price tags or professional installation.
For those exploring fresh lighting solutions, this DIY trend offers both inspiration and practical proof that unconventional materials can yield exceptional results when approached thoughtfully and safely.








Write Your Review
No reviews yet. Be the first to share your experience!