

A viral DIY trend is changing how homeowners think about affordable furniture solutions. Artist Dansy Thomas recently shared a series of social media videos demonstrating how to transform ordinary cardboard boxes and paper clay into a stunning, custom bookshelf. The project has caught the attention of budget conscious consumers and home design enthusiasts looking for creative ways to furnish their spaces without spending a fortune.
The Cardboard Bookshelf Craze Explained
The concept behind this project is straightforward yet compelling: cardboard boxes, which typically end up in the trash, become the foundation for an attractive storage piece. Thomas stacks and arranges cardboard boxes to form shelf compartments, then sculpts paper clay over the structure to create smooth, organic shapes. The final result resembles a professionally designed bookshelf, complete with arches and curved edges that give it a high end appearance.
This trend taps into a broader movement toward upcycling and sustainable home decor. Rather than purchasing new furniture, consumers are discovering that discarded materials can be repurposed into functional pieces that actually enhance their interior design. The process takes patience, typically requiring up to a week from start to finish, but the cost savings are substantial compared to retail furniture options.
Materials and Basic Construction
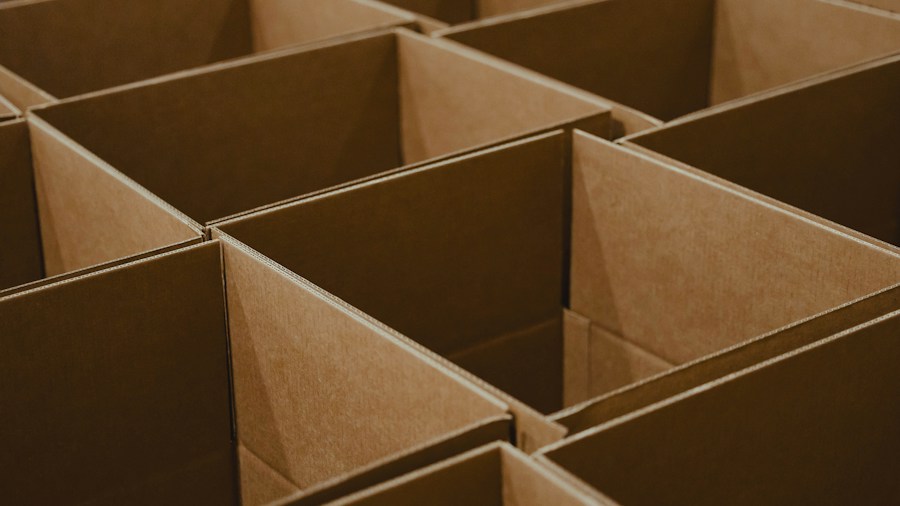
Creating your own cardboard bookshelf requires gathering specific materials before you begin. You will need cardboard boxes, a hot glue gun, scissors, and either masking or joining tape to build the frame. The paper clay component requires torn paper from old mailers or similar sources, boiling water, a blender, cheesecloth, salt, vinegar, PVA glue, and joint compound.
The construction process starts with adhering cardboard boxes together using hot glue, positioning them so the openings face outward to create functional shelf compartments. Smaller cardboard pieces can be added around the edges to form more artistic shapes. Once the basic structure is complete, masking or joining tape smooths out rough edges before the paper clay application begins. This foundational step determines the overall aesthetic and stability of your final piece.
Making and Applying Paper Clay
The paper clay mixture is where this project gets interesting. Start by soaking torn or shredded paper in boiling water for at least one full day. After soaking, blend the paper until it completely breaks down, then strain out excess liquid using cheesecloth. Add salt and vinegar to preserve the mixture, then knead in equal parts of liquid school glue and joint compound until you achieve a thick, plaster like consistency.
Apply the paper clay to your cardboard frame in layers, pressing and shaping as you go. Most projects require two to three coats to fully cover the underlying structure. Allow several days for complete drying before moving forward. This stage transforms the ordinary cardboard into something that resembles finished furniture, though it still requires the final aesthetic touches. Similar furniture transformation techniques have emerged in the home decor space, showing consumers are increasingly interested in reimagining existing materials.
Finishing Your Custom Piece
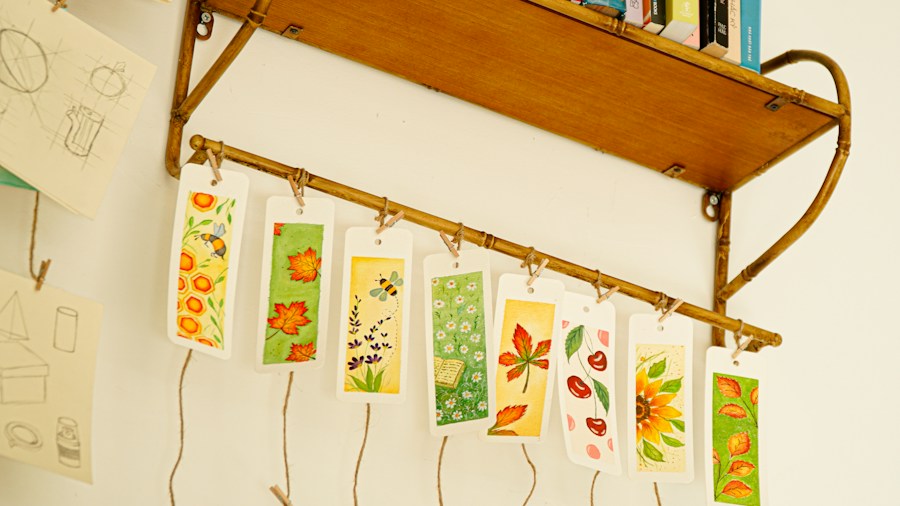
Once your paper clay layer is completely dry, you can customize the appearance. For a rustic, textured look, leave the surface as is. If you prefer a smoother finish, sand down the bumpy areas with standard sandpaper. Many people choose to leave their shelves unpainted for a neutral aesthetic that complements various home styles.
If you decide to paint your bookshelf, acrylic paint offers the best results with smooth coverage and water resistance. Painting all the nooks and crannies requires patience, but the payoff is a piece that looks professionally finished. To protect your completed bookshelf, consider applying a sealant after painting, especially if you plan to display it in areas prone to humidity or moisture exposure.
Display Considerations for Your DIY Furniture
Where you place your new bookshelf matters significantly. A cozy reading nook, living room corner, or bedroom wall makes an excellent display location. Because paper clay is moisture sensitive, avoid bathrooms or other high humidity environments. Creative placement strategies can help protect your investment while showcasing it as a room focal point.
This DIY trend represents a shift in consumer attitudes toward furniture purchasing. Rather than automatically buying mass produced pieces, homeowners are discovering that custom solutions can be created affordably using materials destined for the landfill. The skills required are minimal, making this project accessible to people of various experience levels. Whether you are seeking budget friendly storage options or simply enjoy hands on projects, the cardboard and paper clay bookshelf offers an attractive alternative to traditional furniture shopping.







Write Your Review
No reviews yet. Be the first to share your experience!