

Budget Dresser Hack: How to Add Extra Storage Using Recycled Materials
Storage challenges are a common frustration for homeowners. Whether your bedroom dresser overflows with clothing, your bathroom counters are cluttered with daily essentials, or your kitchen lacks adequate space for spices and supplies, finding room for everything becomes difficult. Many people assume they need to invest in expensive furniture or organizational systems to solve these problems. However, a practical and affordable solution exists right in your home: repurposing empty toilet paper tubes and cardboard to build custom shelving units.
This DIY storage project offers a creative way to maximize existing spaces without breaking your budget. By combining waste materials you already discard regularly, you can construct functional shelves that work anywhere in your home. The process is straightforward enough for beginners and costs almost nothing to complete, making it an excellent alternative to purchasing additional storage furniture.
What You’ll Need for This DIY Storage Project
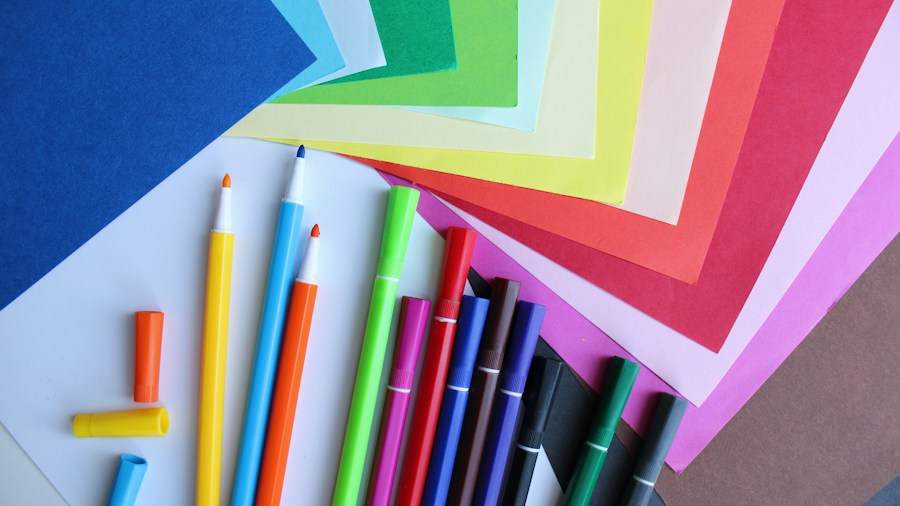
Before you begin, gather your materials. The essentials include four empty toilet paper tubes, a piece of cardboard cut to your desired shelf dimensions, decorative paper or fabric, a glue stick, and a hot glue gun. The beauty of this project lies in its flexibility. If you want to personalize your shelf, add colored or patterned paper, ribbons, stencils, or other decorative supplies. Since you’ll be covering both the cardboard and tubes completely, you have unlimited creative freedom to match your home’s existing decor.
This is where your project can truly stand out. Consider using paper that complements your bedroom walls or bathroom tiles. You might even coordinate the finished shelf with patterned dressers and other bedroom furniture you already own, creating a cohesive look throughout your space.
Step-by-Step Construction Process
Start by covering your cardboard piece with your chosen paper. Lay the paper flat on a work surface with the design facing down if you’re using patterned material. Place the cardboard in the center and apply glue stick to the paper edges, folding them neatly over the cardboard on all sides until the entire piece is covered. This creates a finished base for your shelf.
Next, cut your decorative paper into appropriately sized pieces for each toilet paper tube. Attach these pieces using your glue stick, wrapping them around the tubes smoothly. Once the tubes are covered and the glue has dried, position all four tubes vertically on the bottom corners of your cardboard shelf. Secure them firmly using a hot glue gun. This creates sturdy support legs that will hold weight while remaining visually appealing.
How to Use Your New Storage Shelf
Once your shelf is constructed, the fun begins. Consider your home’s specific needs and place items accordingly. In the kitchen, arrange spices, small jars, and cooking essentials on the surface. In the bathroom, organize hair care products, skincare items, and cosmetics. Bedroom shelves can hold jewelry boxes, books, small decorative pieces, or folded scarves. Don’t overlook the space underneath the shelf itself, which works perfectly for storing books, photo albums, or small trinkets.
This flexible storage solution also pairs well with existing furniture pieces. If your bedroom dresser is already at capacity, repurposing old dresser drawers alongside this shelf project creates a comprehensive storage system throughout your room. The combination of multiple storage solutions helps you tackle clutter from every angle.
What This Means for Budget-Conscious Shoppers
This project represents a significant shift in how consumers approach home organization. Rather than purchasing expensive storage furniture or complex organizational systems, shoppers can now create custom solutions using materials destined for recycling. The nearly zero cost and minimal time investment make this accessible to anyone, regardless of budget or skill level.
For those looking to expand their storage capabilities without major purchases, this DIY approach demonstrates that practical solutions don’t require expensive products. You can experiment with different materials, sizes, and decorative styles to perfectly match your space and needs. Once you’ve successfully completed this project, you’ll likely discover many other household items that can be repurposed for organization and storage throughout your home.
Whether you pair this shelf with your existing dresser, use it as a standalone solution, or create multiple units throughout your home, this budget-friendly hack proves that effective storage doesn’t depend on spending money. It depends on creativity and resourcefulness, qualities every homeowner can develop.









Write Your Review
No reviews yet. Be the first to share your experience!