

External pipework is one of the most overlooked components of a residential heat pump system. Yet proper insulation of those pipes that run outside your home can make a significant difference in both performance and energy savings. If you are considering heat pump installation or already own one, understanding how to protect and insulate external pipes should be a priority.
Why External Pipework Insulation Matters
Your heat pump moves heated or cooled water through pipes to distribute temperature control throughout your home. When those pipes are exposed to the elements, heat loss occurs, forcing your system to work harder and consume more energy. Poor insulation of external pipes has been identified as a leading cause of heat pump underperformance in residential installations. By taking the right steps to insulate these pipes, you protect your investment and improve your system’s overall efficiency.
Tip 1: Choose the Right Insulation Material
Not all insulation materials perform equally. Look for pipe insulation that offers good thermal conductivity ratings, meaning it resists heat transfer effectively. The material should also have a low water vapor diffusion factor to prevent moisture buildup inside the insulation layer. Additionally, verify that your chosen insulation has strong UV resistance, since outdoor exposure will gradually degrade materials that lack this protection. Ask your installer about materials specifically rated for external hydraulic pipework use.
Tip 2: Pay Attention to the Emissivity Factor
Emissivity refers to how readily a material releases absorbed heat back into the environment. Lower emissivity is better for external pipe insulation because it means less radiant heat loss. When selecting foam or rubber pipe covers, check the product specifications for the emissivity factor. This technical detail directly impacts how well your insulation performs during hot summer days and cold winter nights.
Tip 3: Properly Clip and Secure Insulated Pipes
Insulation alone is not enough. The pipes themselves must be securely fastened to your home’s exterior to prevent sagging, movement, or separation from the wall surface. Use appropriate clips and supports designed for the weight and diameter of your insulated pipes. Proper clipping prevents gaps where cold air or moisture can infiltrate, and it keeps pipes in the correct position to avoid condensation problems. Your installer should follow industry best practices for spacing these clips to maintain structural integrity.
Tip 4: Insulate Pipes Passing Through Walls
Pipes that enter your home through exterior walls require special attention. The transition point is vulnerable to thermal bridging, where heat escapes through the wall opening. Ensure that pipes passing through walls are completely sleeved with appropriate insulation on both the inside and outside sections. This creates a continuous thermal barrier and prevents condensation from forming where the pipe enters the home. The sleeving should extend several inches on either side of the wall to maintain uninterrupted protection.
Tip 5: Consider External Plastic Trunking Systems
If your installer plans to use plastic trunking to house the pipework, understand how this affects overall insulation performance. The trunking itself provides some protection from the elements, but the space between pipes and trunking must also be properly filled with insulation material. Do not assume that trunking alone is sufficient. Ask your installer to confirm that all gaps are sealed and insulated to prevent air circulation that would undermine the system’s efficiency. When evaluating heat pump installation quotes, ensure the proposal specifies how trunking will be insulated.
Tip 6: Inspect Your Installation Before Finalizing
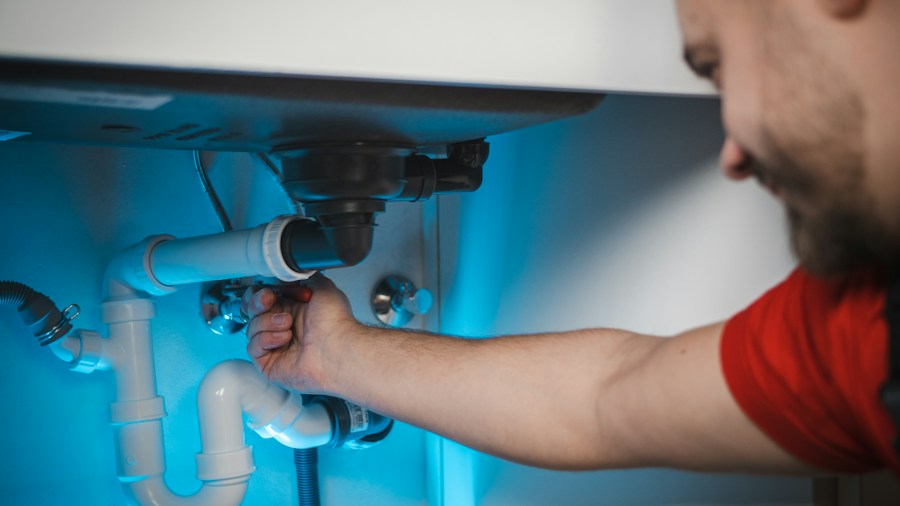
Before signing off on your heat pump installation, conduct a thorough visual inspection of all external pipework. Look for exposed sections where insulation is missing or damaged. Check that insulation is uniform and tightly fitted around the entire pipe circumference. Verify that all clips are secure and that no sections show signs of sagging or separation from the wall. This inspection is your chance to catch defects while the installer is still on site. Rising heating costs make proper installation even more critical.
Tip 7: Plan for Annual Maintenance and UV Protection
UV exposure gradually degrades most insulation materials. As part of your annual heat pump maintenance routine, visually inspect external pipes for cracks, discoloration, or deterioration. Some homeowners apply UV-protective coatings or paint to insulation covers for added durability. In regions with harsh weather, consider scheduling inspections twice yearly, especially after winter or summer extremes. Replacing worn insulation before it fails will keep your system running efficiently for years to come.
Proper external pipe insulation is not a glamorous topic, yet it directly affects your heat pump’s performance and your home’s comfort. By following these practical tips and working with a qualified installer who understands the importance of this detail, you ensure that your system operates at peak efficiency. Whether you are buying a new heat pump or improving an existing one, modern heat pump technology deserves installation practices that match its potential.









Write Your Review
No reviews yet. Be the first to share your experience!