

A garage can swing from unbearably hot in summer to freezing cold in winter, making it uncomfortable and potentially damaging to vehicles and stored items. The solution is straightforward: proper garage insulation. By slowing heat transfer through walls, ceilings, and doors, you can maintain a more stable temperature year-round, lower energy costs, and even protect your home’s resale value. Here are seven critical tips to guide your garage insulation project from selection through installation.
1. Understand R-Values Before You Buy
R-value measures how effectively a material resists heat flow, and selecting the right R-value for your climate is essential. Thicker and denser materials provide higher R-values and better performance. For most garage exterior walls, an R-value of R-13 to R-21 is recommended, depending on your region and whether you plan to heat the space. Research your local climate zone before purchasing materials so you don’t overspend on unnecessary thickness or underinsulate and waste money on energy bills.
2. Choose the Right Insulation Type for Your Needs
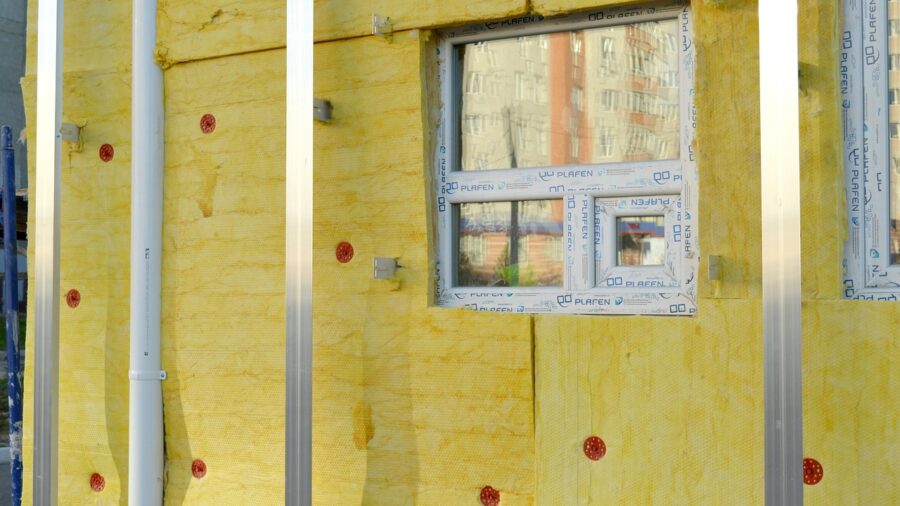
Different insulation materials offer distinct advantages. Fiberglass batts are the most affordable and DIY-friendly option, with R-values of R-2.9 to R-4.3 per inch, making them ideal for budget-conscious homeowners. Rigid foam panels deliver higher performance (R-3.6 to R-6.8 per inch) and work well in spaces with tight corners or irregular angles. Blown-in cellulose, made from recycled newspaper, provides slightly better insulation than fiberglass but costs more and requires a finished space to contain it. Spray foam offers the highest R-value (R-6 to R-7 per inch for closed-cell) and superior air sealing, though it comes at a premium price and typically requires professional installation.
3. Prepare Your Garage Properly
Preparation prevents costly problems down the road. Remove all mounted items, shelves, hooks, and fasteners from walls and ceilings first, as they can damage insulation or compromise its performance. More importantly, inspect for cracks, gaps, and moisture issues. Use waterproof masonry sealant with a caulking gun to seal any openings in exterior walls, especially where pests or water could enter. Allow the sealant to cure fully per manufacturer instructions before installing insulation, as moisture trapped within insulation can lead to mold, rot, and structural damage.
4. Handle Safety Concerns Seriously
Insulation work requires proper precautions. Fiberglass and cellulose particles can irritate skin and lungs, so wear a respirator, safety glasses, thick gloves, long pants, and long sleeves. Before working near electrical wiring, ensure you use a voltage tester and turn off power to garage circuits to prevent electrical shock. Spray foam releases strong chemical fumes, requiring excellent ventilation during application and curing. If you’re installing blown-in insulation or spray foam, recruit a second person to help manage equipment and hoses safely.
5. Don’t Forget the Vapor Barrier
Once insulation is in place, install a vapor barrier on the warm side of the insulation (the room-facing side) by stapling it to wall studs. This membrane protects against moisture infiltration that can cause rot and mold. Be extremely careful not to puncture or tear the vapor barrier during installation, as any holes defeat its purpose and trap damaging moisture within walls.
6. Tackle Garage Doors Separately
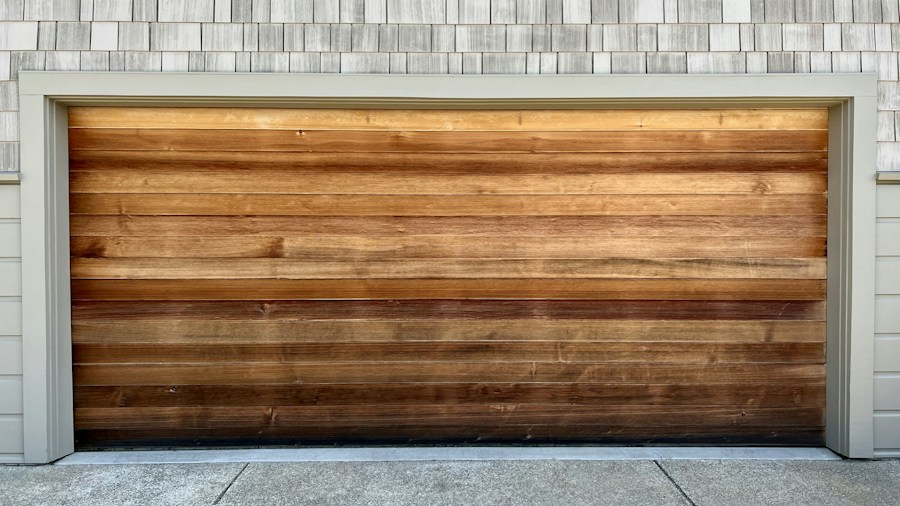
Garage doors require a different approach since they lack studs and must operate freely. Garage door insulation kits are purpose-built for this job and vary in R-value depending on materials. Alternatively, you can cut leftover fiberglass batts to fit individual door panels, securing them with adhesive-backed retention clips and snap-on caps. This method is straightforward to install and simple to repair during regular maintenance.
7. Consider Finishing for Maximum Benefit
While optional, hanging drywall over your insulation improves fire safety, contains fiberglass particles, and gives your garage a finished appearance. Similar principles apply when insulating attics and other spaces where drywall or other finishing materials enhance performance. Measure your walls carefully, cut drywall sheets to size, secure them with drywall screws, and finish with tape, mud, and paint for a professional result.
Proper garage insulation typically costs between 0.50 to 1.25 per square foot for walls and 1 to 3.89 per inch for ceilings, meaning a typical 1,200-square-foot garage runs 600 to 1,500 dollars. Whether you’re tackling this as a weekend DIY project or hiring a professional, these seven tips will help you make informed decisions, avoid common mistakes, and create a garage that remains comfortable and energy-efficient for years to come.











Write Your Review
No reviews yet. Be the first to share your experience!