

The Budget Beaded Curtain Trend Shoppers Are Embracing
Beaded curtains have experienced a remarkable resurgence in home decor, offering a whimsical and bohemian aesthetic that appeals to renters and homeowners alike. However, store-bought beaded curtain panels often carry surprisingly high price tags, making them inaccessible for many budget-conscious shoppers. The good news: you can create stunning, customized beaded curtains at home using inexpensive materials that cost just a few dollars per panel.
The trend centers on using everyday items like binder rings from dollar stores combined with affordable glass beads to construct durable, attractive curtains that rival retail versions. This DIY approach has gained significant traction among home decorators looking for ways to personalize their spaces without overspending. Whether you want to create a boho vibe in a bedroom, add personality to a doorway, or transform a closet entrance, this budget-friendly method delivers professional-looking results.
What Makes This Project Accessible to Everyone
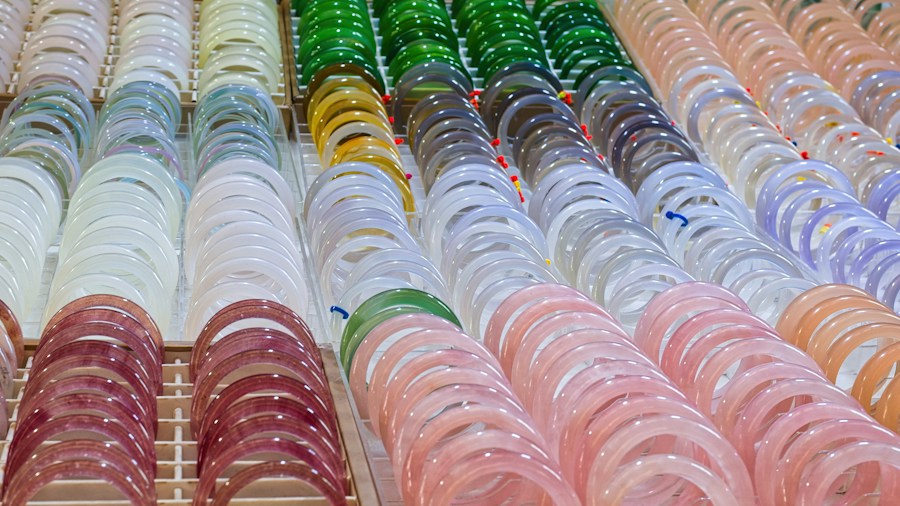
The barrier to creating beautiful home decor should never be cost, and this project proves that quality results don’t require expensive supplies. Most of the materials needed can be found at discount retailers for under $1.25 per item. Binder rings, typically priced around $1.25 per pack, serve as the hanging mechanism and attachment points for your beaded strings. Glass beads in various colors and styles are similarly affordable when purchased from discount stores.
Beyond these core materials, you’ll need fishing line in your preferred color, basic super glue, scissors, and optionally some decorative charms to finish the bottom of each strand. Fishing line is the ideal choice because it’s available in multiple colors, remains nearly invisible when installed, and provides enough strength to support the weight of your beads without sagging. For those seeking truly unique pieces, thrift stores and antique shops offer one-of-a-kind beads that add character and individuality to your finished curtain.
The customization possibilities are virtually endless. You can coordinate bead colors with your existing decor, match your room’s color palette perfectly, or let family members choose their favorite colors for a more personal touch. This flexibility makes the project ideal for any room in your home, from hallways to bedrooms to closets. Upgrading your home’s window treatments doesn’t always require expensive replacements.
Step by Step Guide to Your Custom Beaded Curtain
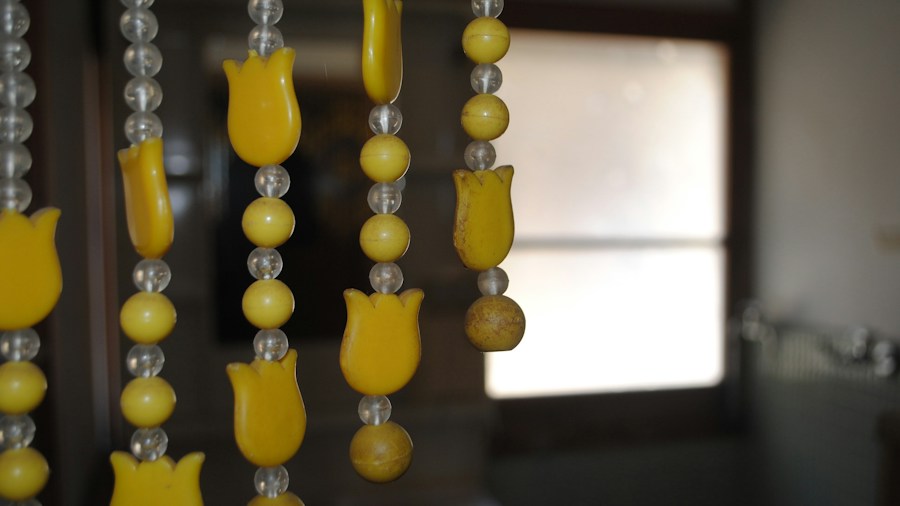
Creating your beaded curtain begins with gathering all necessary supplies and planning your design. Start by measuring your fishing line to the desired length of your finished curtain, then double it by folding it in half before cutting. Tie the folded end to a binder ring by pulling the line through the ring and back through itself. Position the knot slightly to the side of the ring’s hinge, then apply a small amount of super glue to secure it permanently once dried.
The beading process works best when you lay out your beads in the desired order before stringing them. This planning step prevents mistakes and ensures your design flows exactly as envisioned. Begin threading beads onto your fishing line, and approximately every ten beads, tie off the line using a double knot. This technique distributes weight evenly and prevents beads from sliding if the line somehow breaks. Continue this pattern until you reach the desired length, then finish with either a decorative charm or your final bead.
Once you complete one strand, repeat the entire process for however many rows you want your finished curtain to contain. Most shoppers create between fifteen and twenty-five strands depending on their doorway width and desired fullness. Choosing quality materials for your home projects ensures longevity and satisfaction. When all strands are complete, simply slide the binder rings onto a tension rod, or open each ring individually and place it around an existing curtain or closet rod before snapping it shut.
Installation and Design Inspiration
One of the biggest advantages of this DIY project is its versatility in installation. Tension rods make perfect supports for beaded curtains in doorways without requiring any permanent installation. For closet doors, you can attach the binder rings directly to existing rods, instantly creating a seventies-inspired closet entrance that adds visual interest to any space. The lightweight construction means the finished curtain works in virtually any interior design scheme.
Shoppers appreciate that this project requires no special skills or tools beyond basic crafting abilities. The entire process can be completed in an afternoon or spread across several days depending on your schedule. Many people find the repetitive beading process meditative and relaxing. Finding the right hardware solutions makes all home projects easier to execute. Once completed, your custom beaded curtain becomes a conversation piece that showcases your creativity and personal style while remaining completely within budget.









Write Your Review
No reviews yet. Be the first to share your experience!