

A dated 1950s bathroom doesn’t always need a complete teardown to look fresh and stylish. One homeowner recently tackled a full cosmetic update of her original pink tile bathroom for just $750, proving that strategic upgrades and smart DIY work can transform a space without gut-renovation costs.
The Challenge: Working With Original Tile
When the homeowner moved into her historic 1950s home, the bathroom featured original pink wall tile that dominated the entire aesthetic. While the tile itself was in good condition and historically significant, the surrounding design elements, gray peel-and-stick floor tiles, chrome fixtures, and a silver-bordered mirror, created a clashing color scheme that felt outdated and uninviting.
Rather than rip out the original pink tile, which would have been expensive and destructive, she set a different goal: keep the authentic tile, preserve the already-installed toilet and sink, and find creative ways to refresh the space. This approach saved thousands in labor and materials while respecting the home’s history.
Quick Win: Regrouting Transforms Perception Instantly
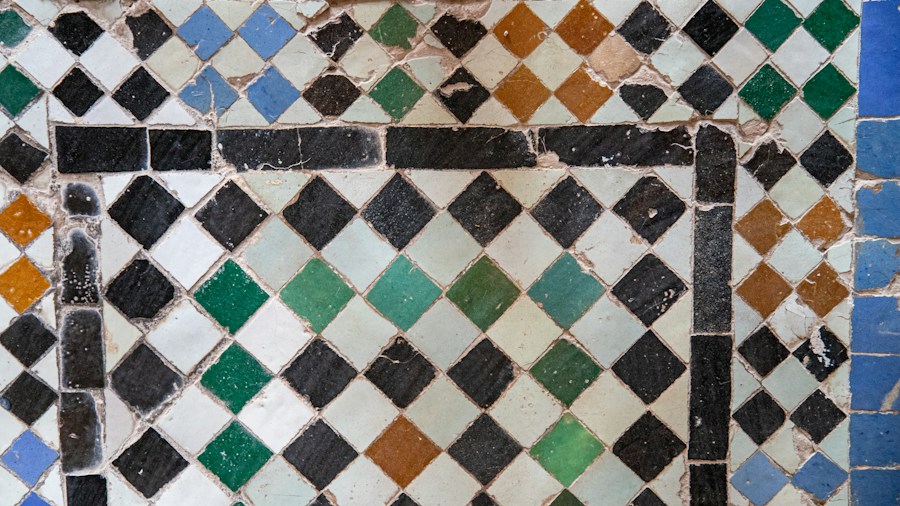
The first and most impactful upgrade was regrouting the wall tile. Over the decades, grout accumulates dirt, mildew, and discoloration that makes tile look dingy even when the tile itself is clean. Removing the old grout and applying fresh grout took just a few hours on two separate days, yet the difference was dramatic. The pink tile suddenly appeared cleaner, brighter, and more intentional rather than dated.
This lesson applies to any bathroom with aging tile: if the tile structure is sound, new grout alone can significantly improve the overall appearance at minimal cost and effort. Homeowners don’t need specialized skills, a grout removal tool and new grout mixed to the right consistency are sufficient for this project.
Tile Upgrades: From Peel-and-Stick to Real Flooring
The original gray peel-and-stick floor tiles were replaced with real hexagon tiles in 12×12-inch mesh sheets. While this seemed intimidating for first-time DIY installers, the project proved more manageable than expected. With hardboard backing and some careful cutting and fitting, the new flooring completely elevated the bathroom’s perceived quality. Real tile, even in small formats, registers as higher-end than its temporary counterparts.
Additionally, the gray border tile at chair-rail height was replaced with painted chair molding in a soft green. This single accent color addition tied the pink, white, and new flooring together into a cohesive design scheme. Small changes like this, swapping a few linear feet of tile for trim, create visual impact without the cost of replacing entire walls. Consider using creative storage solutions and organizational tools to maximize space alongside aesthetic updates.
Lighting Challenges in Older Homes
One significant roadblock emerged when the homeowner attempted to swap out the old chrome light fixtures. The electrician discovered original wiring from the 1950s that looked deteriorated and potentially unsafe. Rather than risk a DIY electrical fix, the homeowners waited for licensed electricians to handle another home project, bundling the bathroom work to save money.
The resulting Art Deco-style vanity lights from an online retailer became a stunning focal point. The lesson here: electrical work in historic homes often requires professional assessment, even when the fix turns out to be simple. Budget extra time and expect surprises when renovating older properties.
Wallpaper and Finishing Details
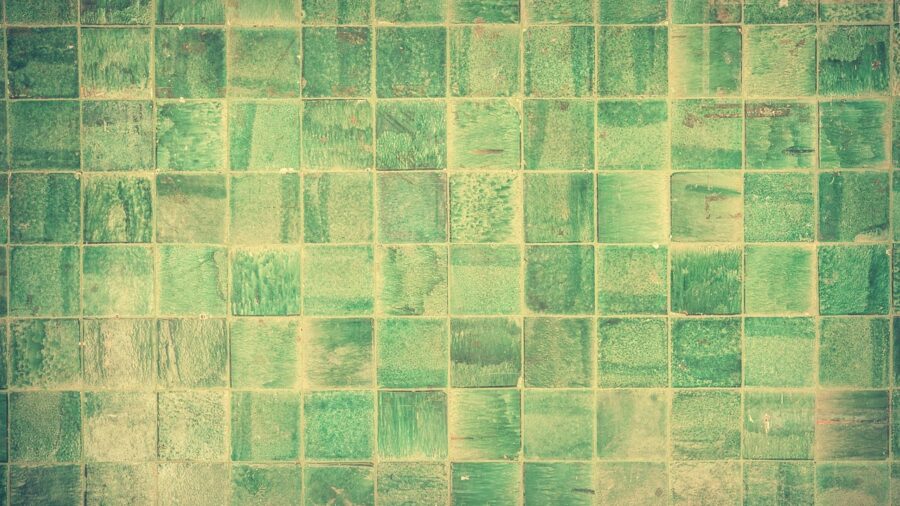
Peel-and-stick wallpaper with a linen floral pattern proved to be another successful first-time DIY project. The wallpaper unified the color palette, blending the pink tile, green accent molding, and white walls into a cohesive design. Unlike traditional wallpaper, the peel-and-stick version allows for easier application and removal without permanent damage, making it ideal for renters or anyone uncertain about long-term design choices.
Final touches included a new arch-shaped mirror, a coordinating shower curtain, and brass hardware such as a curtain rod and faucet. These brass accents modernized the space while honoring the vintage aesthetic. If repeating the project, the homeowner noted she would invest in even more distinctive brass fixtures to add unique character.
Key Takeaways for Budget-Conscious Shoppers
This renovation demonstrates several principles for bathroom updates on a budget. First, preserve good bones and original architectural features when possible, they add character and authenticity. Second, focus on high-impact, low-cost upgrades like regrouting, paint, and wallpaper before replacing large elements. Third, don’t underestimate the power of lighting and hardware to modernize a dated space. Finally, shop strategically for discounts on paint, fixtures, and accessories to stretch your budget further.
For renters or anyone hesitant about permanent renovations, freestanding storage and towel solutions offer flexibility without commitment. A complete bathroom refresh doesn’t always require a contractor or a six-figure budget, it requires creativity, planning, and willingness to tackle some projects yourself.









Write Your Review
No reviews yet. Be the first to share your experience!